The radiator clicked on, producing its familiar metallic hum—a sound that usually meant warmth was on the way. Outside, the wind howled through bare branches, shaking the windows and hinting at the colder days ahead. Inside, the room felt warm enough, yet something about the air felt strangely thin. Your throat felt scratchy, your skin tight and dry, and your nose twitched with the threat of a sneeze.
Homemade Eyebrow Gel: A Simple Solution
At the back of your mind, a vague memory surfaced—perhaps from a grandparent or something you read online—suggesting that placing a glass of water next to the radiator could help. It sounded like a relic of the past, almost superstitious. Yet, as the dryness in the air worsened, you filled a glass and placed it beside the heat. Over time, the atmosphere in the room subtly shifted. Winter reveals its truths quietly.
 Simple Morning Hydration Routine That Enhances Skin Glow and Sustains Energy Throughout the Day
The Science Behind a Glass of Water
It may seem improbable that a simple glass of water could make a room feel warmer without adjusting the thermostat. After all, water doesn’t generate heat. Instead, what changes is how your body experiences the existing heat.

Why Dry Air Makes Warm Rooms Feel Colder
When a radiator runs, it heats the room but also dries the air. This dryness often goes unnoticed at first, showing up as itchy skin, a dry throat, static electricity in your clothes, or small shocks when touching metal. What’s less obvious is how dry air alters your perception of temperature.
Your body constantly exchanges heat with its surroundings. In dry air, moisture evaporates quickly from your skin and lungs with every breath. This evaporation draws heat away, creating a subtle cooling effect—even when the room’s temperature is technically warm. The heater is working, but your body feels out of sync with the thermostat reading.
How Moisture Can Make Heat Feel Softer
This is where the glass of water comes in. As it sits near the heat, it warms and slowly releases moisture into the air through evaporation. Even a small increase in humidity can slow the loss of moisture from your skin and lungs. The temperature may remain the same, but the room will feel softer, warmer, and more comfortable.
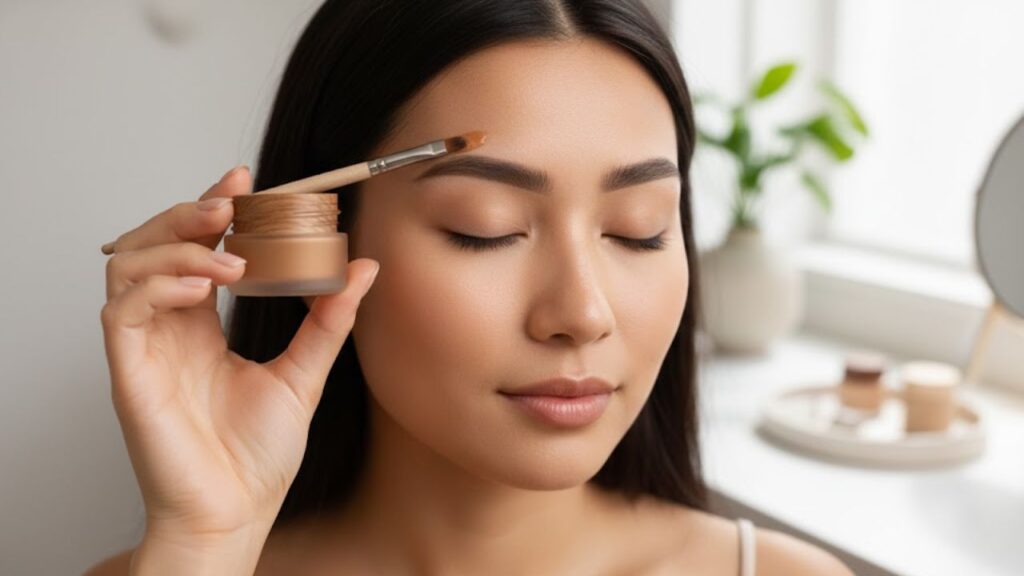
Aloe Vera: A Natural Brow Gel Base
Aloe vera has long been celebrated for its soothing qualities. Its gel is light, cooling, and flexible, never sticky or stiff. When applied to eyebrows, it provides subtle hold while keeping the hairs soft.
Aloe vera gel works wonderfully as a base for homemade brow gel. It offers light-to-medium control and hydration. A high-quality gel with minimal additives nurtures brow health with every application, making daily grooming a nourishing ritual rather than a rushed task.
Cocoa Powder: A Natural Tint for Brows
Cocoa powder is an excellent natural pigment that adds warmth and depth to your brows. It works particularly well for light to medium-dark brows and blends smoothly with aloe vera. Instead of a harsh color, it creates a soft, natural-looking tint.
This method gives you complete control over the tint. A small amount offers a light definition, while a little more deepens the color. The result is a seamless blend, avoiding sharp lines. It’s satisfying to use an ingredient you already have in the kitchen to enhance your natural features.

Building Your Own Brow Gel Kit
Making your own brow gel is a simple, intentional process. Clean jars, a spoon, and a spoolie all have their place in this peaceful routine. The process feels calm and unhurried.
The basic formula requires only two ingredients, with optional additions added later if desired. Its appeal lies in its simplicity.
- Aloe vera gel: Acts as the base, providing natural hold, moisture, and smooth application.
- Unsweetened cocoa powder: Adds a soft tint to enhance natural brow color.
- Small glass jar or container: Stores the finished mixture safely.
- Clean spoolie or angled brush: Helps apply and shape brows evenly.
- Mini spoon or mixing stick: Used to blend ingredients smoothly.
Mixing the Gel: Slow and Steady
Begin by adding two teaspoons of aloe vera gel to a clean jar. Sprinkle about a quarter teaspoon of cocoa powder and stir gently, pressing out any clumps. The clear gel will gradually turn into a smooth, earthy brown.
Test the shade on the back of your hand and let it dry briefly. Adjust as needed—add more cocoa for depth or more aloe for a softer texture. The final product should be creamy and easy to apply with a brush. Once mixed, seal the jar and let it rest for about an hour so everything settles evenly.
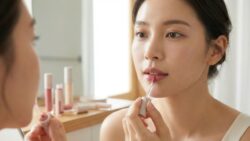
Applying Your Brow Gel
Using homemade brow gel encourages a slower, more mindful application process. Start with clean, dry brows. Lightly dip a spoolie into the gel and remove any excess before applying. Brush through the brows using short, feathered strokes that follow the natural direction of growth.
Start from the inner brow and work outward, shaping the brows rather than drawing hard lines. For more definition, allow the first layer to dry before applying a second. Focus on filling in sparse areas. An angled brush can help create hair-like strokes if needed. The result is soft, flexible brows that look natural, never stiff.
Why Simple, Natural Choices Matter
Making things at home carries a sense of purpose. It reduces waste, limits unnecessary ingredients, and reintroduces you to the process of creating. Each refill replaces disposable packaging, and each application reinforces the idea that beauty can be simple and thoughtful.

Natural solutions are not one-size-fits-all, so listen to your skin’s needs. Patch test and make adjustments as necessary. In that unhurried moment—brush in hand, cocoa-scented gel nearby—you’ll find that beauty doesn’t need to be complicated. Sometimes, meaningful changes come from the simplest choices.